
Online Editing Tool: Image Border Tutorial

Instructions on how to add a border and remove shapes.
Removing Shapes or Image
- Select your shape or image.
- Click on the trash can icon in the toolbar.
Adding a Border
- Go to the toolbar and choose "Stroke," the second option from the left. This will apply a border around your shape or image.
- Set the desired border color.
- Set the width of your border using the up or down arrows, or directly inputting the desired size.
Quick Note:
Another border option is to create a shape and place behind your shape or image. However, creating a border instead of adding a shape will ensure the border is even around all sides, and it will automatically resize with your image. If you resize your image or shape and you have created a border as a shape, you must manually resize to refit.
Need help?
Our Customer service team is ready to come to the rescue:
Call us: +(866) 777-3986
Monday through Friday 8:00 AM - 5 PM PST
Email: CS@Corefact.com
Related topics

Online Editing Tool: Image Gallery
Learn all about the image gallery using the Corefact online editing tool.
Read More
Online Editing Tool: Replacing Sample Images
Learn how to replace sample images with the Corefact online editing tool.
Read More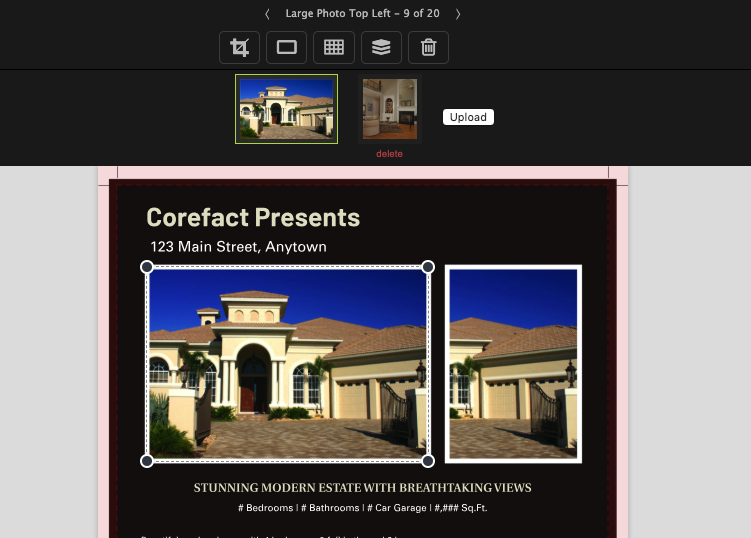
Online Editing Tool: Images 101
Learn all about editing and managing images using the Corefact online editing tool.
Read More